Using the DR Student Portal
Log in
For students currently registered with the Office of Disability Resources, log in to the DR Student Portal to request faculty notification letters and to schedule exams.
How to Use the DR Student Portal
Please note that emails from the Portal will come from Accessible Information Management, noreply@shasta.accessiblelearning.com. Please add this email to your address book or create an email filter to avoid missing important messages from us.
Request an Appointment with Your Access Coordinator
You can request an appointment with your access coordinator through the DR Student Portal.
- Log in to the portal.
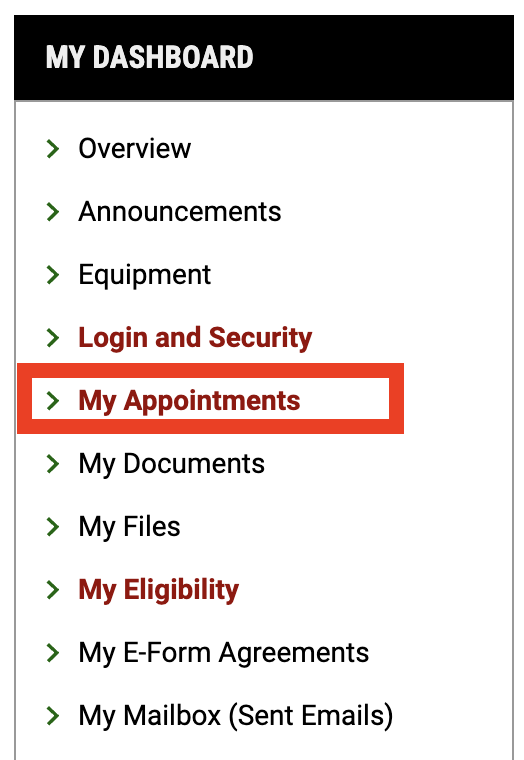
- On the left-hand menu, under My Dashboard, select My Appointments.
- On the top right corner of the page, select Request Appointment.

- Select your campus, then click Continue to Select Your Availability.
- Complete the Appointment Request form that follows. Provide as many available time slots as
you can to give us the best chance of connecting you with an access coordinator as soon as
possible.
When you’ve completed the form, make sure to hit the Add Appointment Request
button at the bottom of the page. You should see a green check mark indicating your request
has been successfully submitted. Our staff will be in touch to confirm your appointment time.
Request Accommodations Each Semester
In order to receive accommodations and send notification of accommodations letters each semester, you'll need to log into your Disability Resources Student Portal with your net ID and password.
Your Overview page displays important messages that need your attention; for example, when it’s time to set up your semester’s accommodation requests for your notification of accommodations letter. Make sure to read through the Important Notes as well.
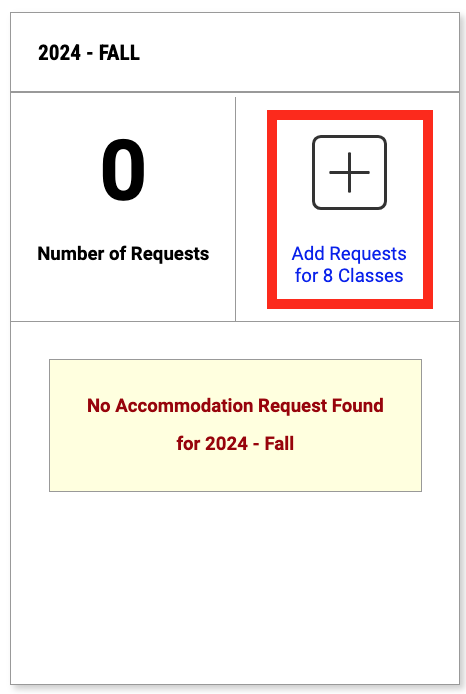

To request your accommodations, click the plus sign that says Add Requests.
- Select Your Classes. Tick the checkboxes for classes in which you are requesting accommodations.
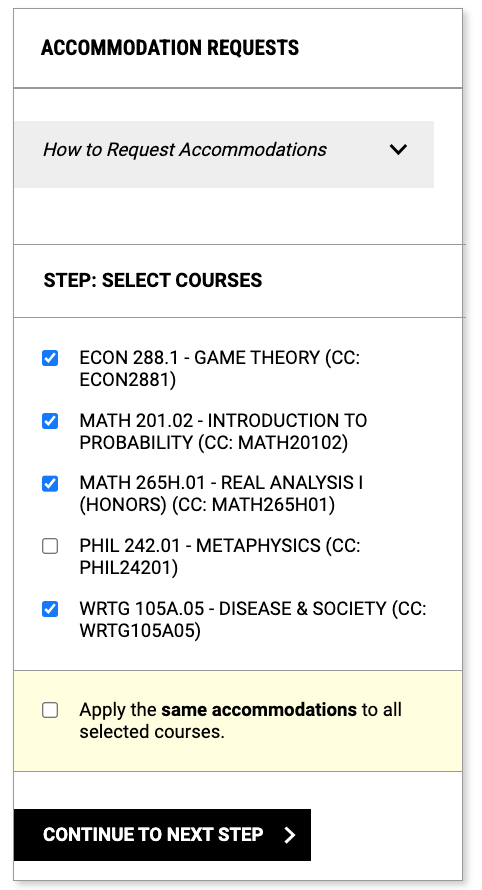
- Click Continue to Next Step, which will take you to the final step.
- Customize the accommodations you anticipate using in each class.
You can de-select an accommodation if you don't want it included in the notification of accommodations letter. For example, there may be classes, recitations, or labs in which you don't need alternative testing.
When you are finished customizing your accommodations in each class, click the button titled Submit Request.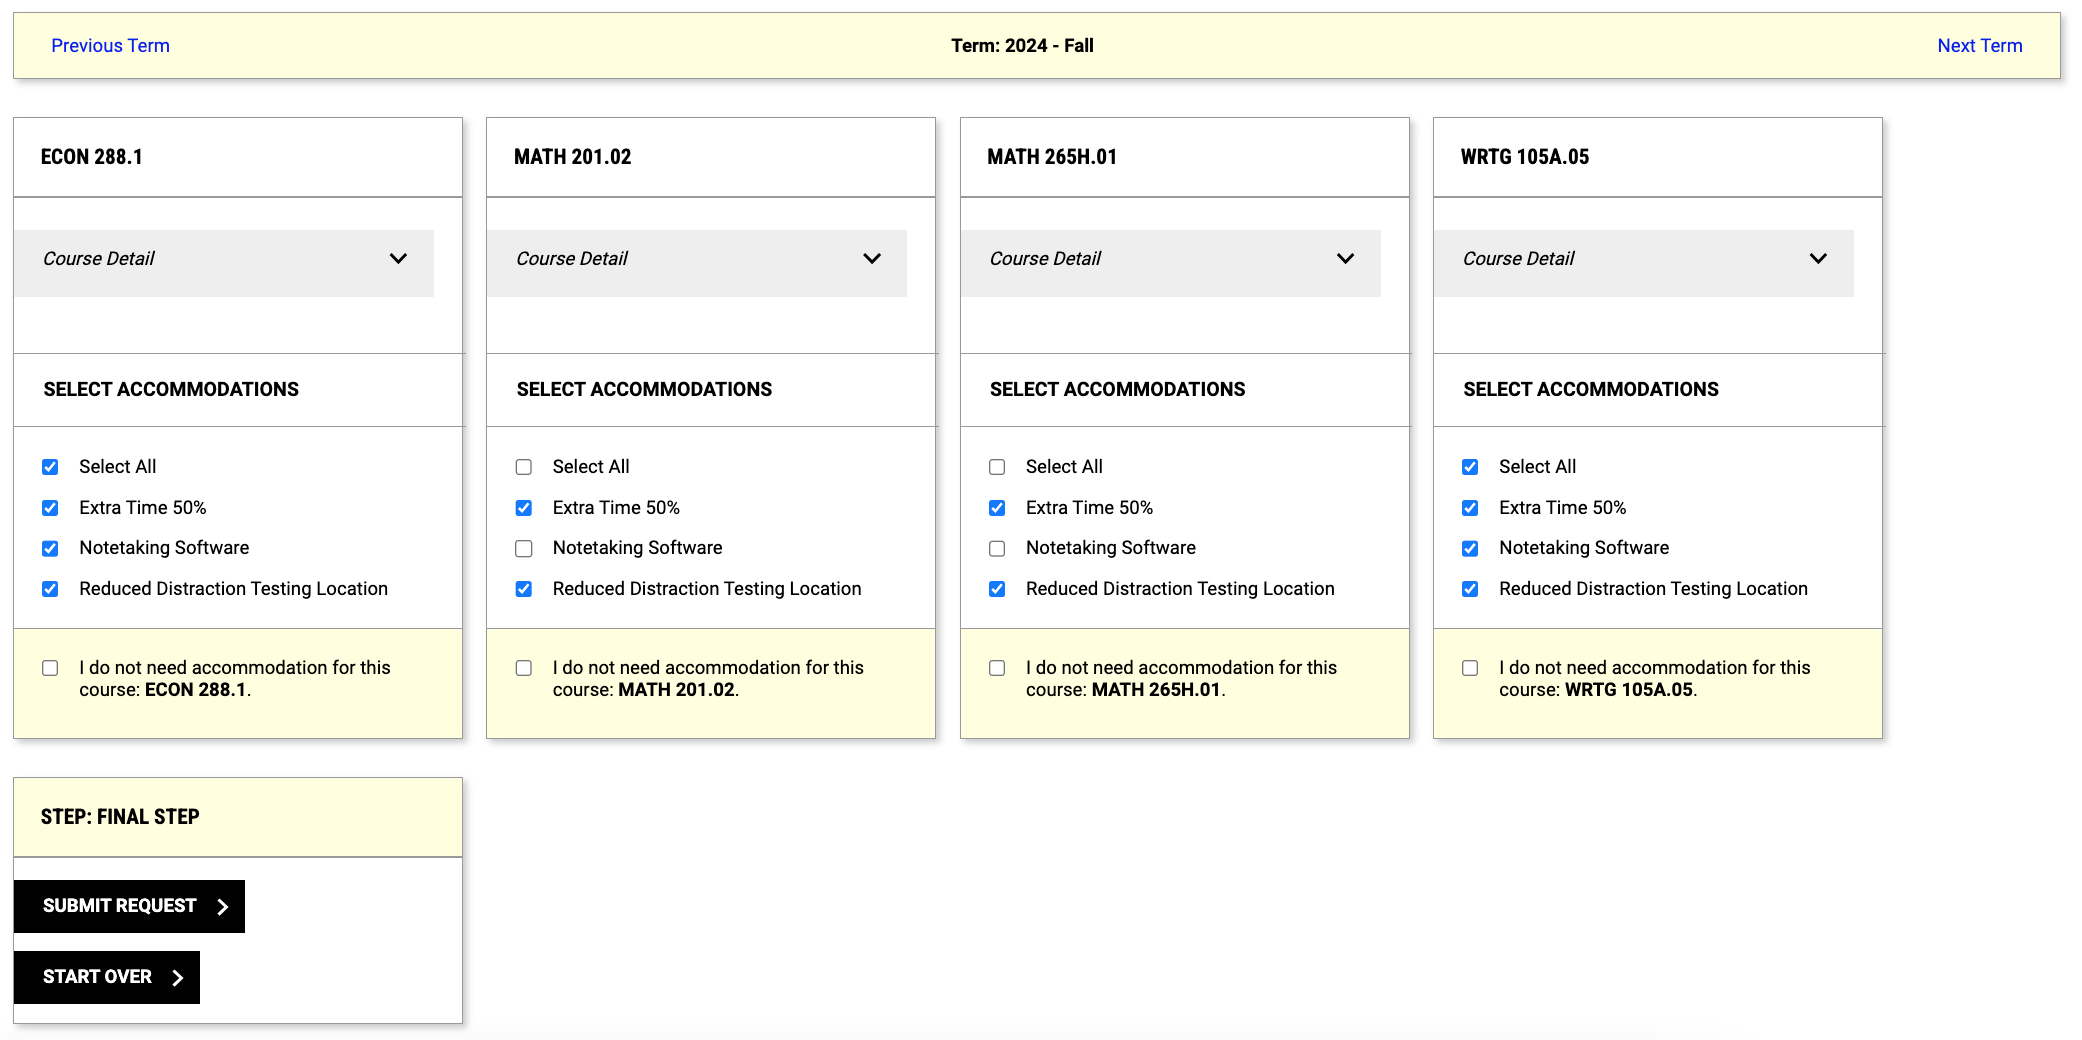
- You should see a message reading Your Request Was Submitted Successfully.
Once you’ve completed this step, your notification of accommodations letter will be emailed at the start of the term to the faculty members you indicated. If you’d like them sent sooner, contact your access coordinator. If the term has already started, they’ll be sent immediately.
You'll receive a copy of each letter sent via email to your instructors. You can preview a PDF of each letter.
If you run into any difficulty with this procedure, contact your access coordinator.
Modify or Cancel Accommodation Requests
Through the DR Student Portal, you have the ability to modify or cancel accommodations for individual classes when necessary.
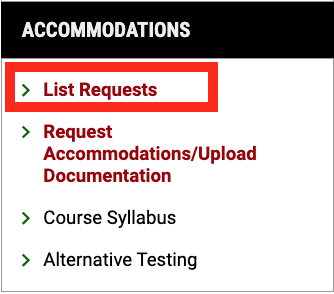
- Once you log in, select List Requests on the left side of your Dashboard.
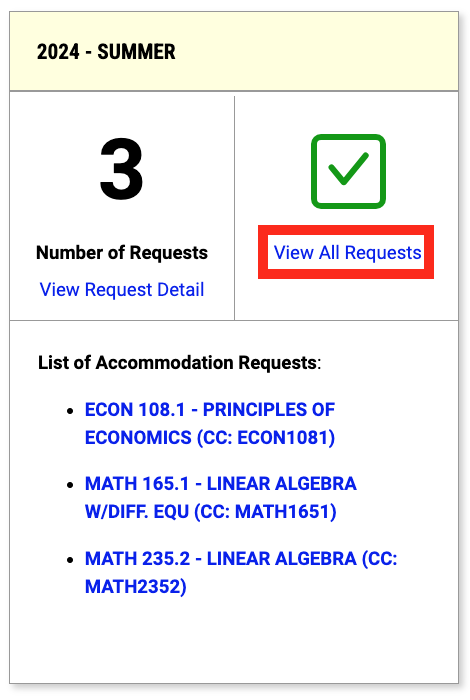
- On the next page, select View All Requests under the current semester.
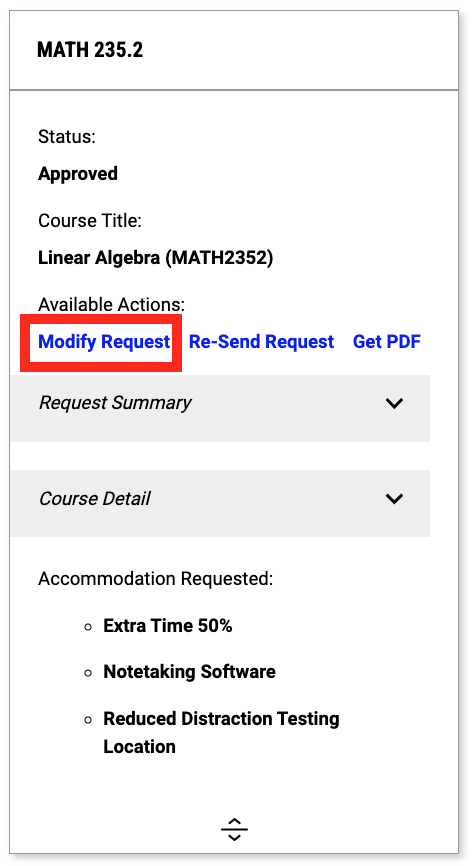
- On the next page, your accommodations will be listed by class. To modify an accommodation request, simply scroll to the class you wish to modify and click the blue link titled Modify Request.
You may modify or cancel your accommodation request using the checkboxes provided.
Uncheck the box(es) next to accommodations you wish to modify. You can also check the box(es) of accommodations you would like to add.
Important: Accommodations are not retroactive and will only begin from the time your request is approved.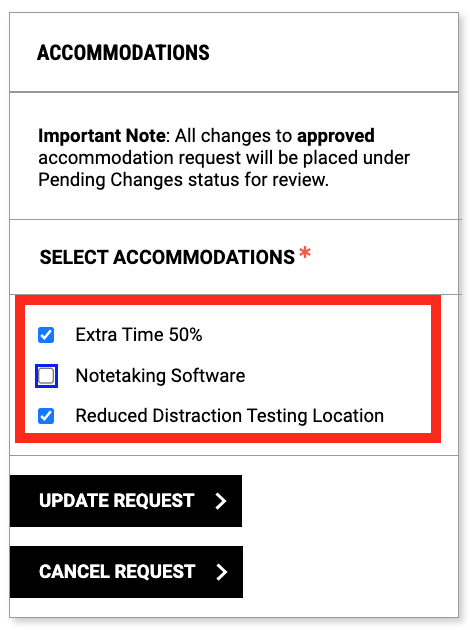
- When you have completed your selections, click Update Request. Your screen should read Your Request Was Submitted Successfully.
If you would like to cancel all accommodations in a particular class, click Cancel Request. You will be prompted to select the reason why you're choosing to cancel services.
Once you have made the appropriate selection, click Cancel Accommodation Request.
Please check back in one business day to see if your requests have been approved.
Request Additional Accommodations/Upload Documentation
Through the DR Student Portal, you have the ability to request accommodations and upload documentation – this feature can be used for making housing/dining and academic accommodation requests, as well as to fulfill the yearly update requirement.
Note: If you are making a housing request, you may also be required to complete a Residential Life Application and participate in the housing lottery.
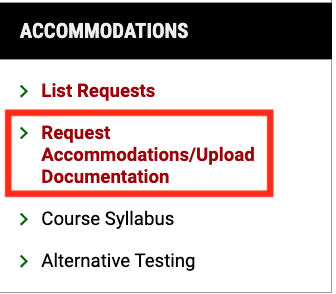
- Select Request Accommodations/Upload Documentation on the left side of your Dashboard.
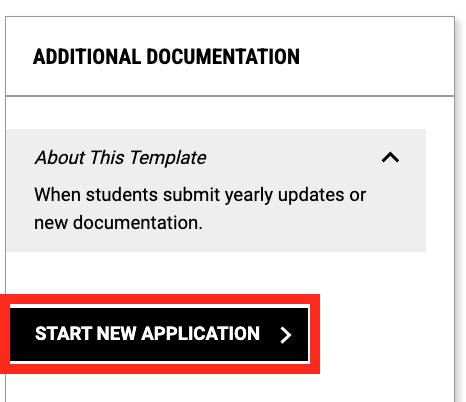
- Select Start New Application on the page that follows.
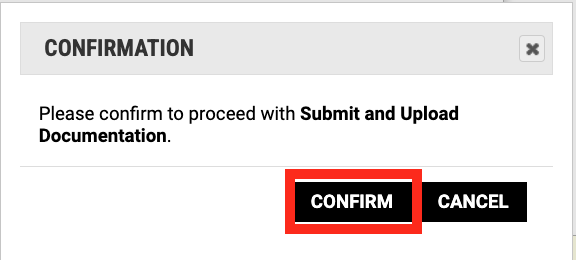
- Complete the questionnaire, then click the Submit and Upload Documentation button, followed by Confirm.
You only need to respond to the questions that are applicable to what you’re requesting.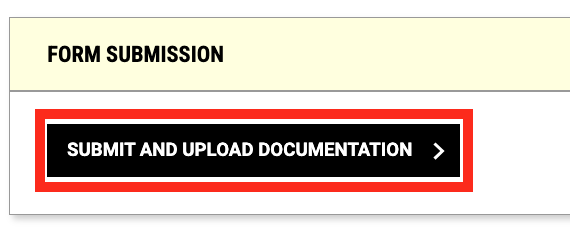
- Your screen should then read Success! Your action has been completed.
During the next step, you’ll have the opportunity to submit your documentation directly into the portal. If you’re ready to do so, enter a File Title, use Choose File to select the file from your computer, and click Upload File.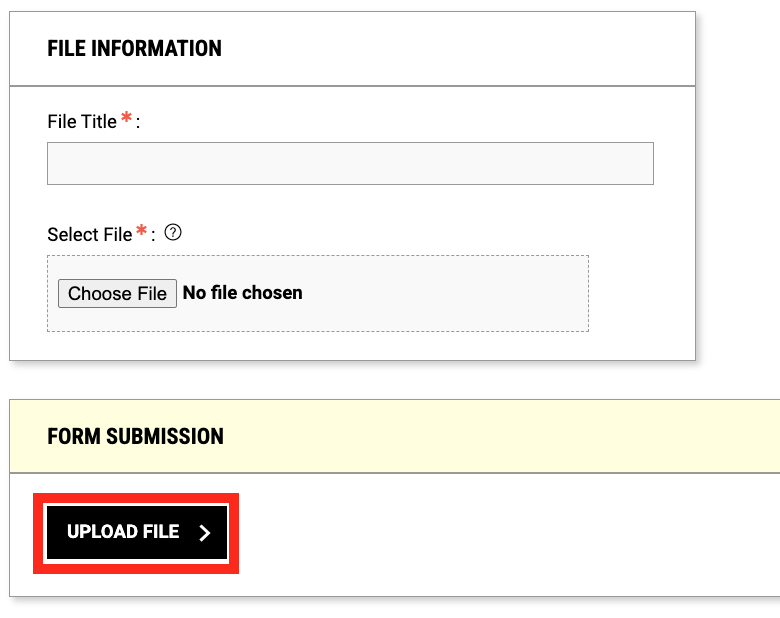
You should see a confirmation screen, and your file will be listed at the bottom of the page. An access coordinator will review your submission and follow up with you.
Schedule an Exam
In addition to the steps below, we've also prepared a Testing Checklist to guide you through a smooth exam accommodation process this semester.
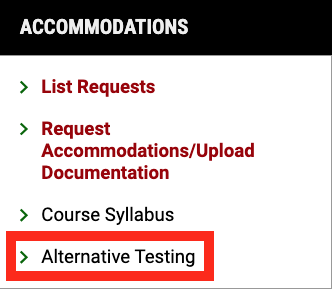
- Log in to the DR Student Portal. On the left hand side, under “Accommodations,” click on Alternative Testing.
- Choose a class from the Select Class drop-down menu.
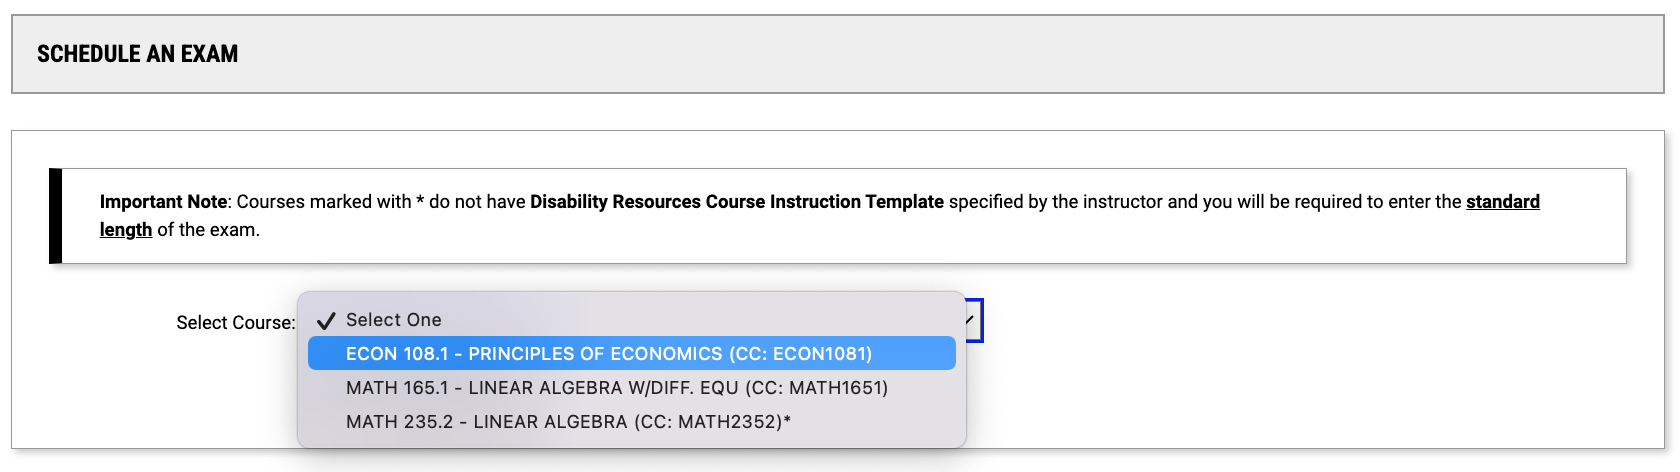
- Review the Tips & Tricks – Common Error One regarding a class that has the tag ‘No Disability Alternative Testing Agreement Specified’
- Review the Tips & Tricks – Common Error One regarding a class that has the tag ‘No Disability Alternative Testing Agreement Specified’
- Select Schedule an Exam. Enter the information requested under Exam Request, and select Add Exam Request.
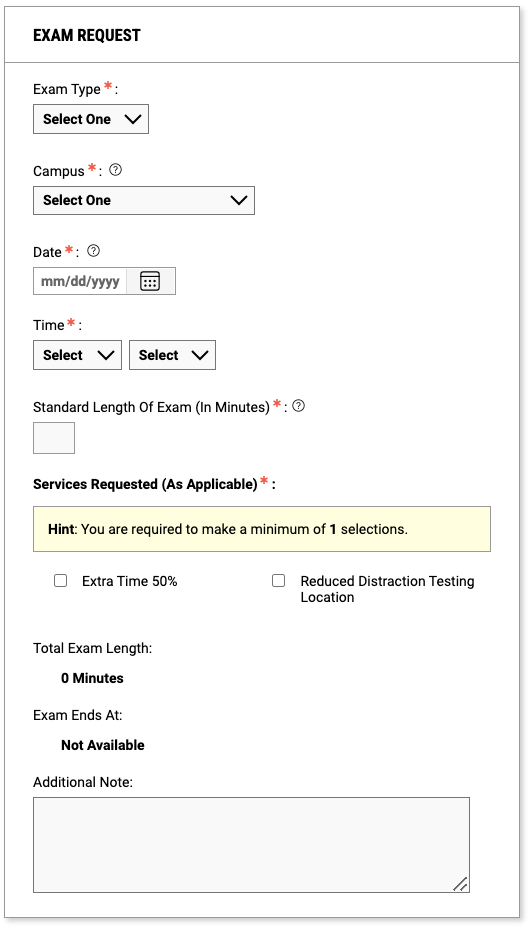
- Choose the exact Exam Date(s) to use your accommodations
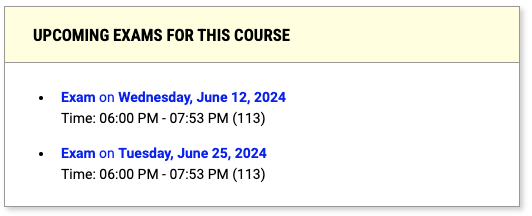
- Professors enter the exam dates based on the syllabi in the Testing Agreement and students can send in exam requests based on those dates. On the left hand side of the Exam Dates page, you will see a list of exams that your instructor has entered into their Testing Agreement.
- If an exam date is not listed, you can still enter a request.
- If you need a different day/time for the exam, we will need written/emailed permission from your professor to move the exam day/time. Review the Tips & Tricks – Common Error Three for more information.
- Professors enter the exam dates based on the syllabi in the Testing Agreement and students can send in exam requests based on those dates. On the left hand side of the Exam Dates page, you will see a list of exams that your instructor has entered into their Testing Agreement.
- Choose the exact Exam Date(s) to use your accommodations
- Successfully submitted requests will prompt the screen to refresh and a green checkmark at the top of the screen will appear:
A confirmation email will automatically be sent to your Rochester.edu email.
Reminder emails with locations and exam specifics are sent 2 days prior to the exam start time.
You can review the Testing Policies on our website for more information about scheduling an exam.
Change an Exam Request
- Log in to the DR Student Portal. Click on Alternative Testing.
- Locate the exam request you wish to modify under the heading Upcoming Exams Scheduled.
Please note that if your instructor has not provided us with their exam instructions, you will not be able to modify the request. Instead, you’ll see a note that says, “Instructor has not submitted Disability Resources Alternate Testing Agreement.” If this happens, please email your exam change request to disability@rochester.edu.
Otherwise, select the blue View link.
- On the page that follows, enter your desired changes. Make sure to select Update Exam Request when you’re finished.
You’ll know that you’ve successfully submitted the update if you see the green check mark at the top of your screen.
IMPORTANT: RESCHEDULING AN EXAM POLICY
Rescheduling an exam with the Office of Disability Resources:
Students with accommodations may reschedule an exam with their professor's permission. Students must forward their professor's written / emailed approval of the alternate date to the Testing Coordinator (disability@rochester.edu). If there is space and proctor coverage available, the alternate exam date will be approved. Otherwise, the student must make exam arrangements directly with their professor.
The Office of Disability Resources will aid in rescheduling a student's exam two times. If a student misses the exam a total of three times (original date plus the two rescheduled dates), the student must work with their professor for them to administer the exam.
We will need 1-2 business days to process your request. If your request is time-sensitive, please call our office at (585) 276-5075.
Cancel an Exam Request
- Log in to the DR Student Portal. Click on Alternative Testing.
- Locate the test you wish to edit under the heading Upcoming Exams Scheduled and click View.
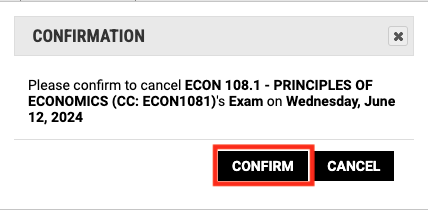
- Select a Cancellation Reason, then click Cancel Exam Request.
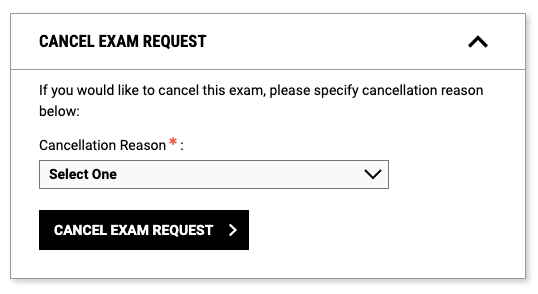
- Review the information listed on the pop-up message to ensure that this is, in fact, the test you wish to cancel.
Once you have made sure this is the correct test, select Confirm.