Uploading an Image
An image can be added to a page that is stored in the WCMS, but before you can use it on your page, you must first upload it to the WCMS as a JPEG, GIF, or PNG file.
The name of your image file will be the same name that is used in the WCMS and in the computer code for the web pages where you place the image. It is important to use the following rules for naming your image files before you upload them to the WCMS.
- Do use the correct file name extension (for example, .jpg or .gif or .png).
- Do not use spaces in the name.
- Do not use punctuation in the name.
- Do not use capital letters in the name.
To upload an image file:
- Go to your site
- Look at the Site Content at the left on large screens; or if you are on a mobile device, click the hamburger menu and select Site Content in the slide-out menu
- Click on the folder named “assets” and then click on the arrow at the right of the folder named "images"
- Click on the Plus icon in the top menu bar, and select File
- Either drag and drop an image file into the area surrounded by a dashed line, or click on the "choose" link inside this area to browse to the image file on your computer
- Note that the File Name field is automatically filled with the name of the file that you selected
- If you want to add another image, repeat step 5
- If you only selected one file, then click on Save and Preview, or if you are on a mobile device, click the Check Mark Icon
- Click Submit, or the Check Mark again, if you are on mobile and then Submit
- If you selected more than one file, then click Submit
Tip: You can now edit an image in the WCMS. See Editing an Image. For standard image sizes see our web style guide.
Figure 1. In the figure below, the user has already selected the "images" folder and clicked on the Plus Icon, labeled Add Content in this large screen view
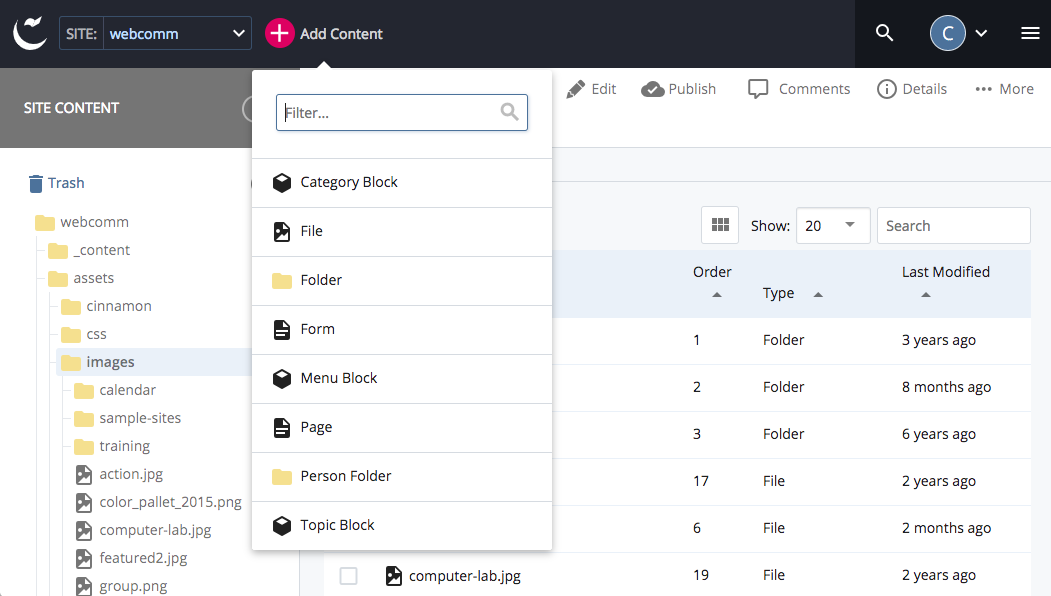
Figure 2. The dialog for adding a file is shown in the figure below. Note that the Placement Folder is "images."
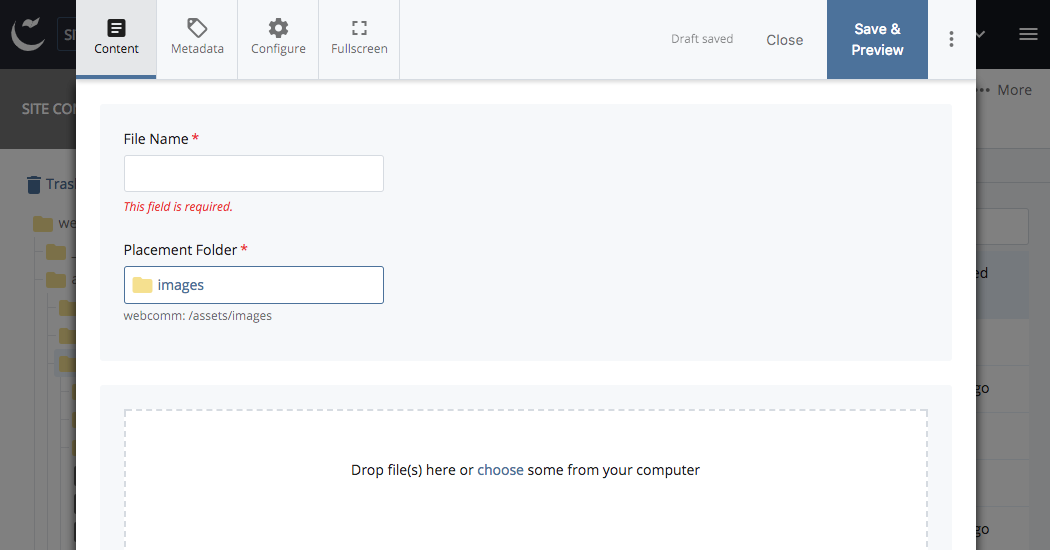
Figure 3. In the figure below, the user has dropped an image into the area surrounded by a dashed line. Note that the File Name field is filled in automatically with the name of the file on your computer. If the user only wants to add one file, the Save & Preview button at the top right should be clicked now, and then click the Submit link.
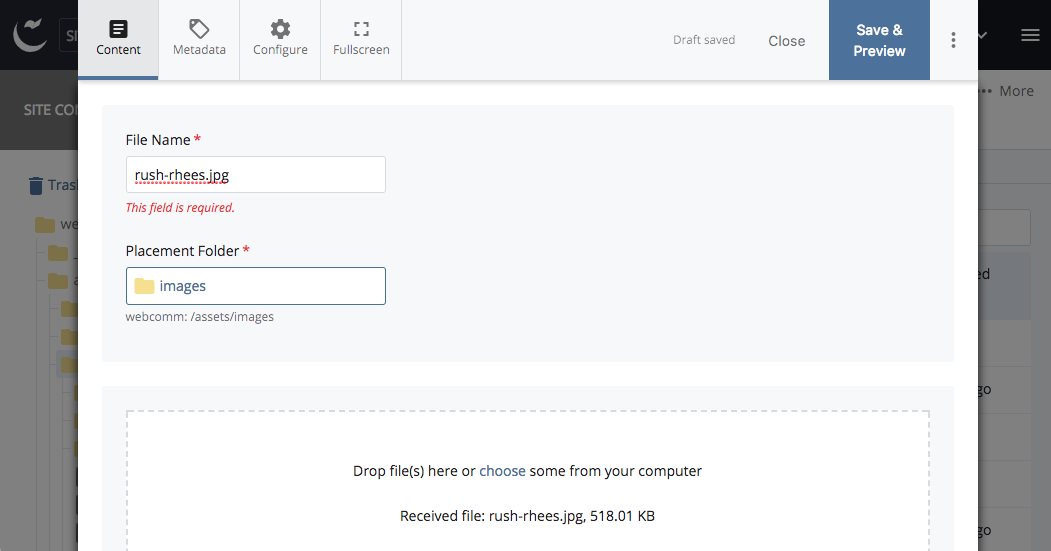
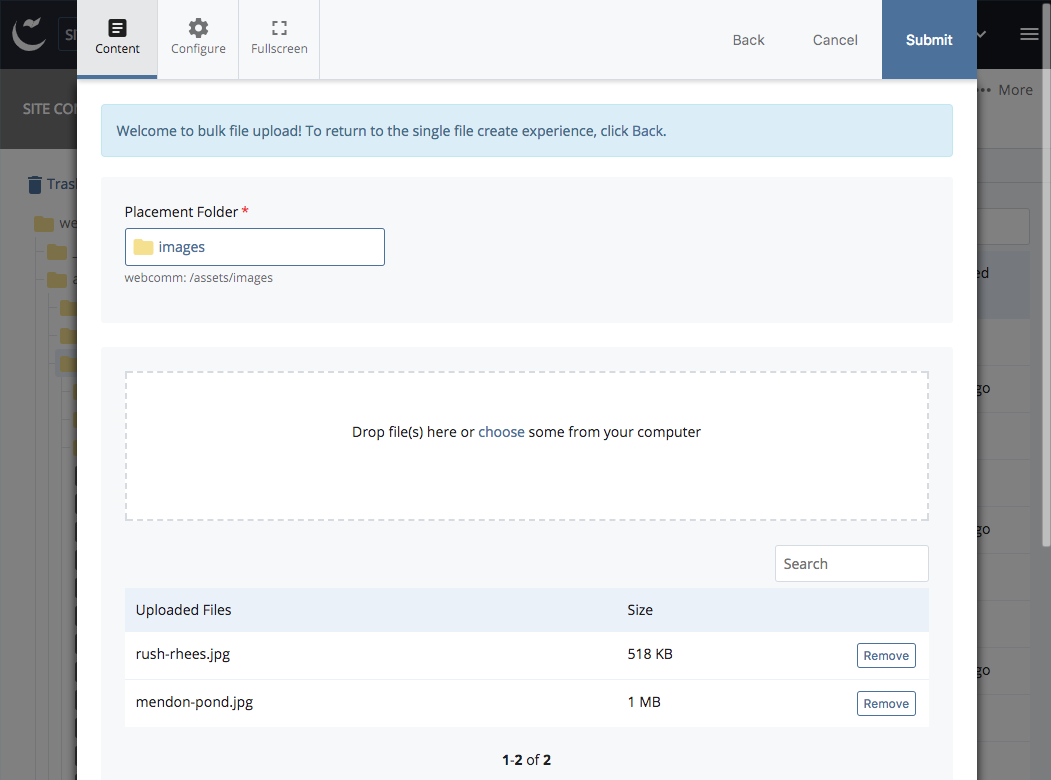
Figure 4. In the figure below, the user dragged a second file into the area surrounded by a dashed line. Note that you can now click the Submit button at the top right to upload both files at once.